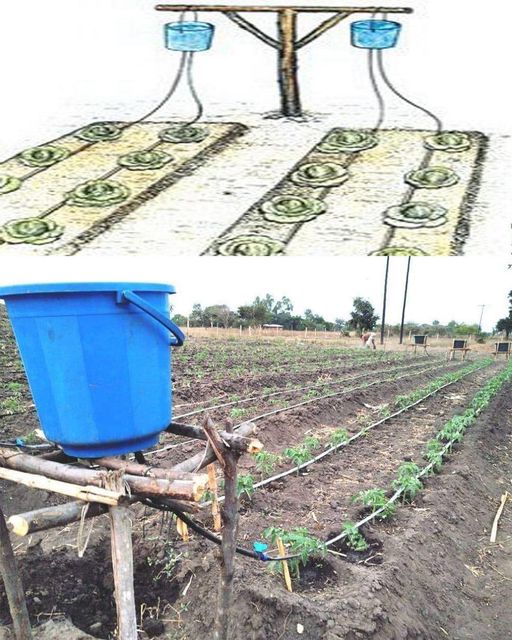
Growing your own sweet potatoes is not only rewarding but also a great way to add delicious and nutritious food to your table. And the best part? You don’t need a big garden or perfect soil conditions to do it. With the help of soil bags, even beginners can successfully grow sweet potatoes at home. This comprehensive guide will walk you through the step-by-step process, making it easy for you to enjoy your very own homegrown sweet potatoes.
Getting Started: Essential Materials
Before you begin, gather the following items:
- Sweet potato slips (young, rooted plants)
- Soil bags (or large grow bags)
- High-quality potting soil or a mixture of compost and garden soil
- Watering can or garden hose with a gentle spray nozzle
- Fertilizer suitable for root vegetables
- Garden trowel or hand spade
- Stakes or trellises (optional)
- Mulch (straw or leaves)
Step 1: Choosing the Right Spot
Find a sunny spot in your garden that receives at least 6-8 hours of sunlight each day. It’s important to ensure good drainage to prevent waterlogging, as sweet potatoes don’t like wet feet.
Step 2: Preparing the Soil Bags
If you’re using commercial soil bags or grow bags, fill them with high-quality potting mix, leaving a few inches of space at the top. Alternatively, you can create your own mixture by combining equal parts compost and garden soil. Remember, sweet potatoes thrive in loose and well-draining soil.
Step 3: Planting the Sweet Potato Slips
Plant the sweet potato slips about 4-6 inches deep in the soil bags, spacing them 12-18 inches apart. Make sure to position each slip vertically with the roots facing downward and the leafy part above the soil surface.
Step 4: Watering the Sweet Potatoes
Keep the soil consistently moist by watering regularly. It’s best to water in the morning, allowing the leaves to dry during the day and reducing the risk of fungal diseases.
Step 5: Fertilizing
Feed your sweet potatoes with a balanced, slow-release fertilizer according to the instructions on the package. Apply the fertilizer a few weeks after planting and repeat throughout the growing season. Be careful not to over-fertilize, as this can lead to excessive foliage growth and smaller tubers.
Step 6: Support and Trellising (Optional)
If you have limited garden space or want to encourage larger sweet potatoes, consider using stakes or trellises. Secure the vines gently as they grow, making it easier to harvest later on.
Step 7: Mulching
To retain moisture and suppress weed growth, apply a layer of mulch around your sweet potato plants. Straw, leaves, or even black plastic can work well as mulch. Just make sure the mulch doesn’t touch the stems to prevent rot.
Step 8: Harvesting
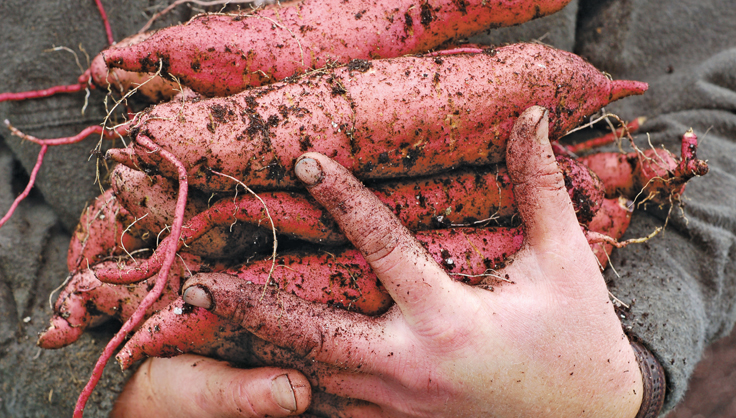
Sweet potatoes are usually ready for harvest around 100-120 days after planting, depending on the variety and growing conditions. Gently dig around the base of the plant to unearth the tubers. Take care not to damage them during the process.
Step 9: Curing and Storage
After harvesting, allow your sweet potatoes to cure for about 10-14 days in a warm and humid location (80-90°F or 27-32°C). This will enhance their flavor and heal any minor injuries. Once cured, store your sweet potatoes in a cool and dark place with good ventilation to prolong their shelf life.
With soil bags, you can cultivate sweet potatoes no matter the size of your garden or the quality of your soil. By following this detailed guide and giving your sweet potatoes the care they need, you’ll soon be enjoying the taste of your very own homegrown harvest. Happy gardening!
