Long beans, also known as yard-long beans or asparagus beans, are a delicious and easy-to-grow addition to any container garden. With their delightful taste and simple cultivation process, they are the perfect choice for gardening enthusiasts between 45-65 years old. Let’s dive into the steps to grow thriving long bean plants in containers:
Step 1: Get Your Seeds Ready
Start by soaking the long bean seeds in water for 24 hours. This helps to soften the seed coat and kickstart the germination process. You will be amazed by how quickly they sprout!
Step 2: Choose the Perfect Containers

Prepare your seedling containers by placing two long bean seeds along with two aloe vera cuts in each container. Cover them lightly with soil and keep the containers moist. This creates an ideal environment for the seeds to grow.
Step 3: Create a Nutrient-rich Compost Mix

After seven days of seed incubation, it’s time to prepare the growing containers. Use a mixture of 60% soil, 20% vermicompost, and 20% rice husks in recycled buckets or any other suitable container. This compost mix will provide the essential nutrients for your long bean plants to flourish.
Step 4: Plant Your Seedlings
To further enhance the growth of your long bean plants, incorporate Trichoderma into the compost mix. This naturally occurring fungus will help promote healthy root development. Plant the prepared long bean seedlings and watch them thrive!
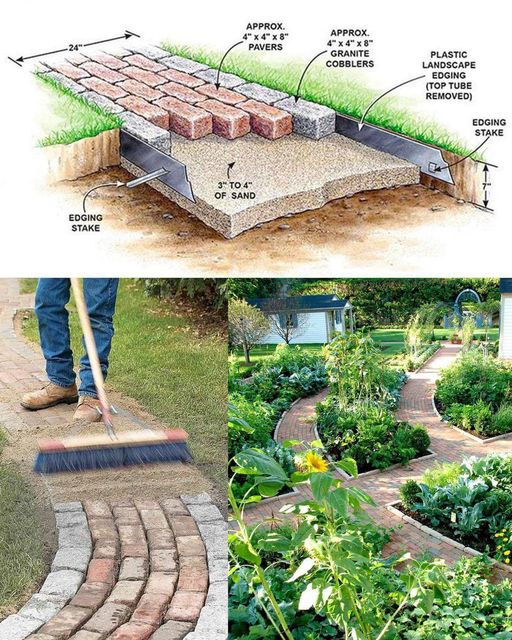
Step 5: Create a Support System
Long beans are climbers, so they will need something to grab onto as they grow. Place a 5-feet (1.5 meters) long wooden stick in each bucket. Then, use smaller sticks to create a grid-like support system that allows the plants to climb and reach for the sky!
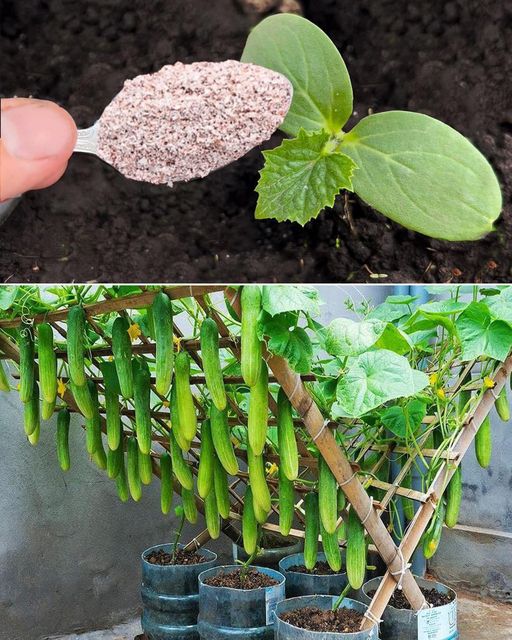
Step 6: Fertilize and Maintain
To ensure your long bean plants receive the nutrients they need, follow these fertilization steps:
- Initial Fertilization: Use a balanced fertilizer or organic compost-rich soil mix when planting the seedlings. This provides an initial boost of nutrients.
- Second Fertilization: Approximately 25 days after the first fertilization, feed the plants with a mixture of kitchen waste and vermicompost. This enriches the soil and enhances nutrition.
- Third Fertilization: Around 25 days after the second fertilization, add watermelon waste to each bucket and cover it with more compost. This sustains plant growth and ensures your long beans thrive throughout their lifecycle.
Step 7: Harvest Your Long Beans

About 95-100 days after planting, your long beans should be fully grown and ready for harvest. Simply pick them from the plants, and you’ll have a bountiful supply of fresh and home-grown long beans. Enjoy the taste and satisfaction of your container garden!
By following these easy steps and providing proper care, you’ll be able to grow your own long beans at home, even in containers. So, why not give it a try? Happy gardening!