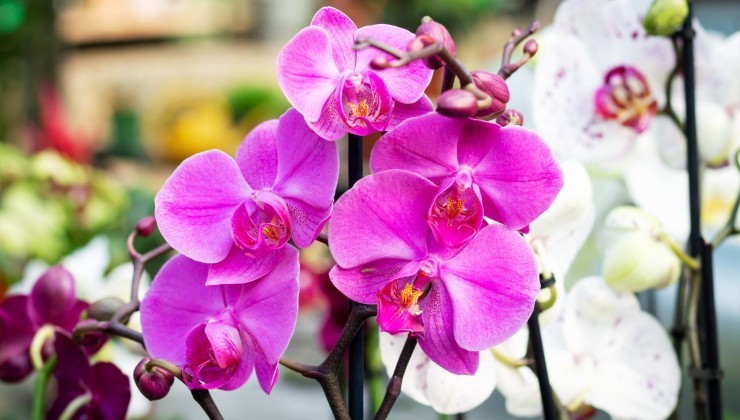
Orchids are not only aesthetically beautiful, but they also add elegance and sophistication to any living space. While taking care of orchids may seem daunting, propagating them at home is simpler than you think. In fact, all you need are a few natural ingredients and some easy steps. Let’s dive into the procedure!
The Simple Process of Orchid Propagation
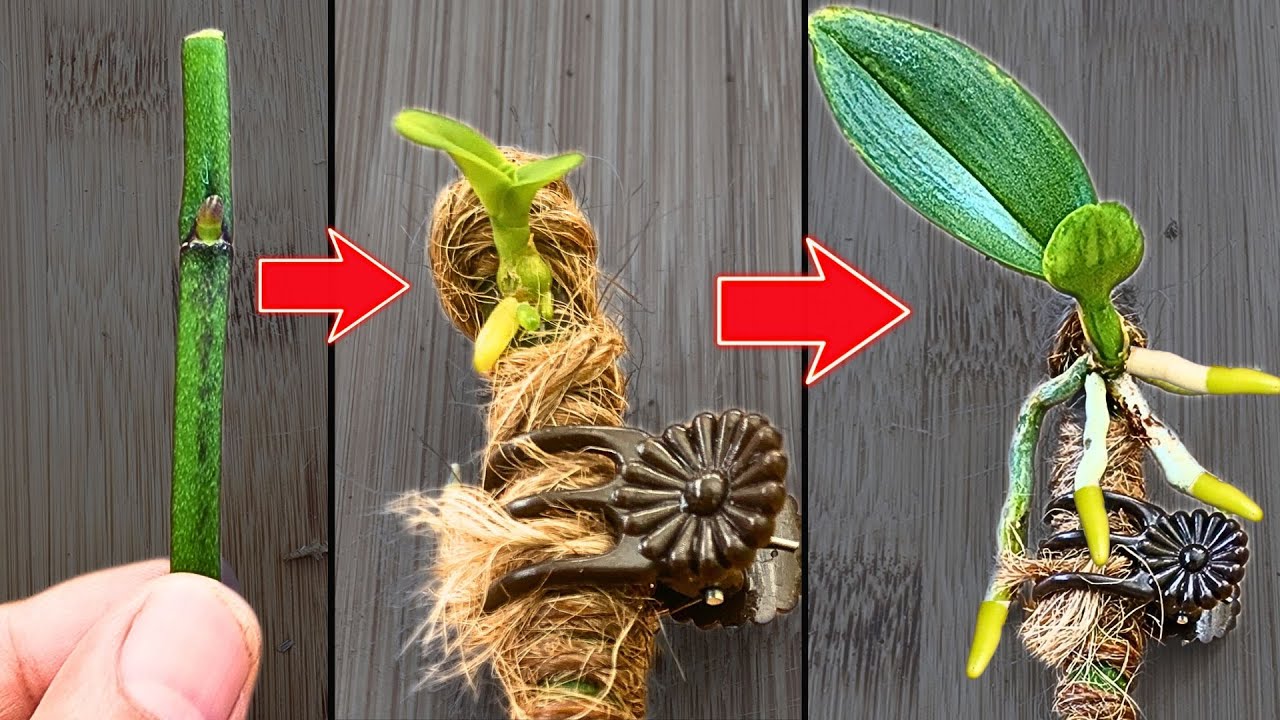
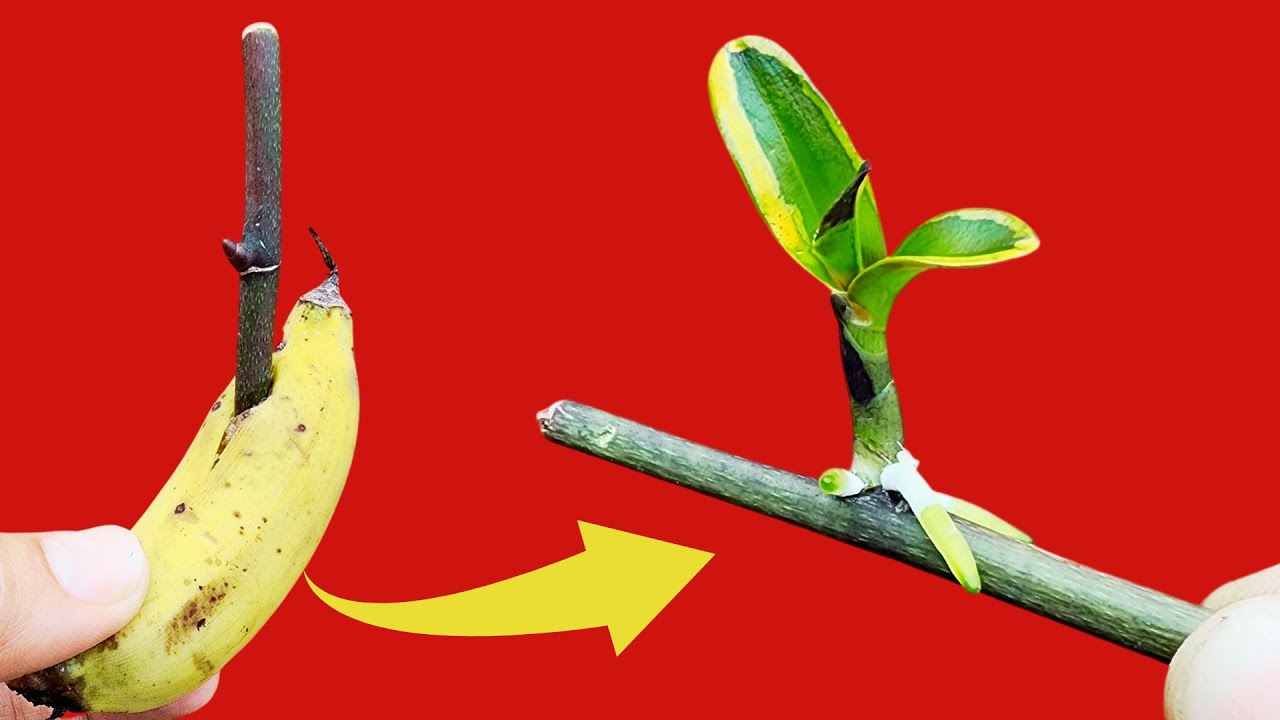
First, find a faded orchid branch that appears almost dead. It’s best to select a branch without flowers or buds. Cut it from the rest of the plant and trim the ends until you see bright green inside. This will be the starting point for your new orchid plant.
Next, peel a clove of garlic and gently insert the ends of the orchid branch into it. Massage the two green sides of the branch with the garlic clove to prevent mold or fungi formation and to avoid rotting.
Light a candle and let the wax start to flow. Use the melted wax to seal the ends of the branch. This may seem counterintuitive, but it helps prevent water loss.
Preparing the Activating Mixture
Peel a small banana and put both the fruit and peels in a blender. Add a liter of water and blend everything well. Use a strainer to filter the liquid into a jar. This banana mixture will act as an activator for the orchid branch.

In another container, mix a teaspoon of cinnamon with a liter of boiling water. Let it cool, and then filter the mixture. This cinnamon and water mixture will serve as a disinfectant for the moss.
Creating a Mini Greenhouse
Immerse the orchid branch completely in the banana activator mixture for at least 20 minutes. Meanwhile, soak the moss in the cooled cinnamon water mixture for 20 minutes. Squeeze out the moss and let it dry on a paper towel.
Now, it’s time to create a miniature greenhouse for your orchid sprig. Take a large water bottle and cut off one-third from the base. Leave the remaining part intact so it can be opened and closed.
Place pebbles at the bottom of the bottle to prevent water from stagnating. Add the moss on top of the pebbles and lay the orchid sprig horizontally on it. Wet the sprig with the same water in which it was immersed. Close the bottle to maintain humidity.
Spray the bottle regularly, ensuring the orchid sprig is lightly misted. After a couple of weeks, you will start seeing the first shoots. Keep the sprig in the DIY greenhouse for at least a couple of months to allow the roots to develop fully.
In no time, you will have a beautiful orchid plant with well-established roots, ready to be planted in Bark soil.

With a simple banana peel and a little effort, you can successfully propagate an orchid at home and enjoy the beauty of these elegant houseplants. So why not give it a try and create your own orchid garden?