
Introduction Making your own raisins at home is not only satisfying, but it also allows you to enjoy a tastier, healthier snack. By selecting the right type of grapes and using proper drying techniques, you can create raisins that are larger, plumper, and juicier than the store-bought variety. Here’s how to turn fresh grapes into delicious homemade raisins.
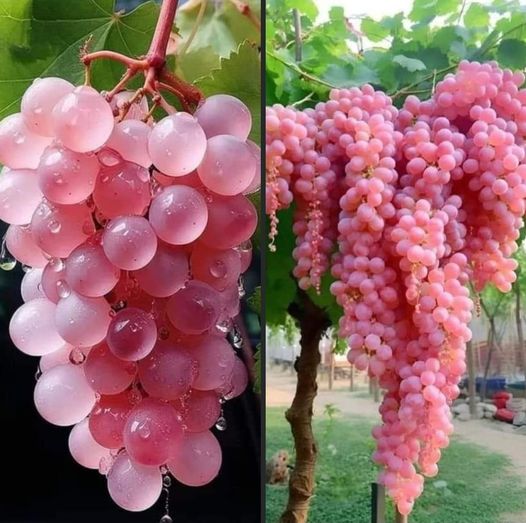
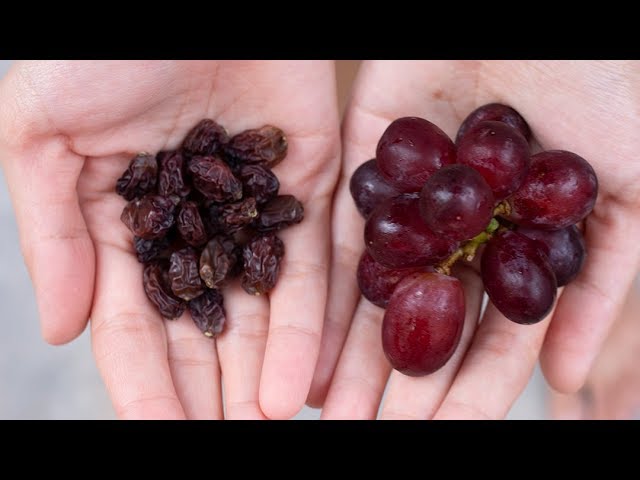
Choosing the Right Grapes The key to making excellent raisins begins with the right grapes. For larger, juicier raisins, seedless grapes are the best choice. Varieties such as Thompson Seedless, Flame Seedless, or Black Corinth are ideal due to their naturally sweet flavor and good flesh-to-skin ratio.
Preparation
-
Wash and Dry: Start by thoroughly washing your grapes to remove any pesticides or impurities. Pat them dry gently but thoroughly to prevent mold from forming during the drying process.
-
Prepare the Grapes: If you want your homemade raisins to dry evenly and retain a plump shape, consider slicing the grapes in half. This increases the surface area, allowing for faster dehydration while preserving the juices inside.
Drying Methods You can dry grapes using the natural power of the sun or an oven, depending on your preference and climate conditions.
-
Sun Drying: This traditional method works best in hot, dry climates. Place the prepared grapes on a clean tray covered with cheesecloth to protect them from insects. Leave them in direct sunlight for 3 to 5 days, turning them occasionally to ensure even drying. The ideal temperature is around 85°F (29°C) with low humidity.
-
Oven Drying: If you don’t have the right climate for sun drying, you can use your oven. Preheat it to the lowest setting (around 135°F or 57°C). Spread the grapes on a baking sheet lined with parchment paper and place them in the oven. Leave the oven door slightly ajar to allow moisture to escape. It typically takes about 10 to 24 hours for the grapes to fully dry, depending on their size and moisture content.
Storing Homemade Raisins Once your grapes have transformed into raisins, let them cool completely. Store them in an airtight container to keep them fresh and plump. They can be stored in a cool, dry place and will last for several months.
Conclusion Making your own raisins is a straightforward process that can lead to deliciously sweet and plump snacks. By choosing the right grapes and carefully controlling the drying process, you can create homemade raisins that are superior in both taste and texture to those you buy at the store. Enjoy your homemade raisins as a healthy snack, or use them to enhance your baking and cooking!