Growing clove plants from cloves is a rewarding and relatively simple process. By following a few steps and providing proper care, you can enjoy the fragrance and flavor of your own homegrown cloves. Here’s a detailed guide to help you get started.
Germinating Clove Seeds:
To begin the clove growing process, you will need fresh and healthy clove seeds. Here’s what you’ll need and the steps to follow:
Materials Needed:
- Clove seeds (fresh and healthy ones)
- Small pots or seed trays
- Well-draining potting soil
- Plastic wrap or a transparent cover
- Warm water
Steps:
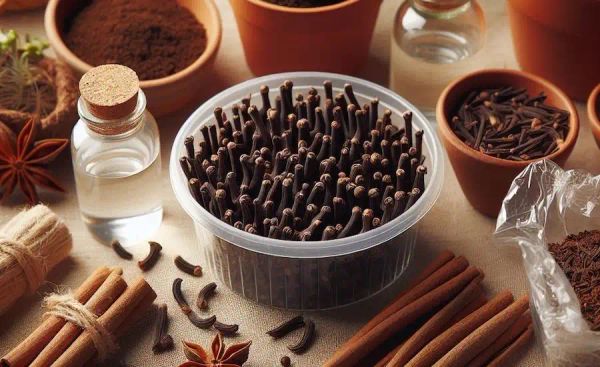
- Selecting Clove Seeds: Choose fresh, plump, and unbroken cloves for planting. The fresher the cloves, the better the chances of successful germination.
- Soaking the Seeds: Soak the clove seeds in warm water for 24 hours. This helps soften the hard shell of the seed, aiding germination.
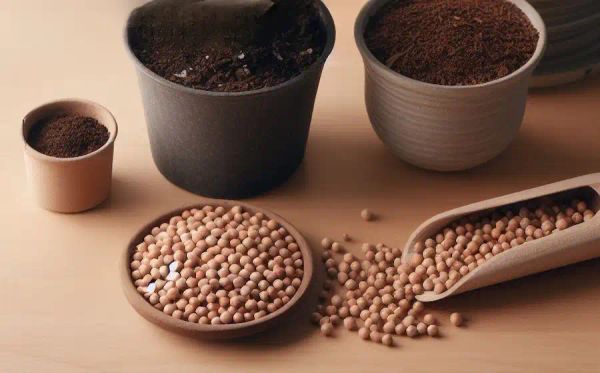
- Preparation of Pots/Trays: Fill small pots or seed trays with well-draining potting soil, leaving some space at the top for the seeds.
- Planting Clove Seeds: Plant the soaked clove seeds about 1 inch deep into the soil. Place one seed per pot or space them evenly in the tray.
- Covering the Pots/Trays: Cover the pots or trays with plastic wrap or a transparent cover to create a greenhouse effect. This helps retain moisture and warmth, aiding germination.
- Maintaining Moisture and Warmth: Keep the soil consistently moist but not waterlogged. Place the pots or trays in a warm location with indirect sunlight.
- Germination Period: Clove seeds can take several weeks to sprout, so be patient. Once sprouts emerge, remove the plastic covering and provide filtered sunlight.
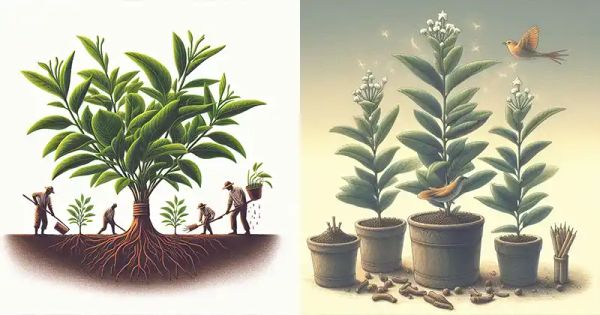
Planting Clove Seedlings:
Once the clove seedlings have developed a few sets of true leaves and are sturdy enough, it’s time to transplant them into larger pots. Here’s what you’ll need and the steps to follow:
Materials Needed:
- Larger pots with good drainage
- Rich, well-draining potting mix
- Fertilizer (balanced, slow-release, or organic)
Steps:
- Transplanting: Once the clove seedlings are ready, transplant them into larger pots filled with a well-draining potting mix.
- Soil and Fertilization: Ensure the soil remains consistently moist but not waterlogged. Fertilize the plants sparingly with a balanced, slow-release, or organic fertilizer to support growth.
Caring for Clove Plants:
Once your clove plants are established, they require relatively low maintenance. Here are some tips for caring for your clove plants:
- Light and Temperature: Clove plants thrive in warm, humid conditions with partial shade. Aim for temperatures between 60°F to 90°F (15°C to 32°C).
- Watering: Maintain consistently moist soil. Water when the top inch of soil feels dry, but avoid waterlogging.
- Humidity: Clove plants prefer higher humidity levels. You can increase humidity by misting the plants regularly or using a humidifier.
- Pruning: Prune the plant occasionally to encourage bushy growth and remove any dead or damaged parts.
- Harvesting Cloves: It can take several years for a clove plant to mature and produce cloves. Harvest the cloves when they turn pink or reddish before they fully open and dry them in a shaded, well-ventilated area.

By following these steps and providing proper care, you can successfully grow clove plants from cloves. Remember, patience is key as cloves take time to mature and produce viable cloves for harvest. So get started today and enjoy the satisfaction of growing your own cloves at home. Inspired by this? Share the article with your friends!