Are you looking for a fun and eco-friendly project to enhance your garden? With wattle weaving, an ancient technique that has stood the test of time, you can create a sturdy and visually appealing raised garden bed. By intertwining flexible branches or twigs, such as willow or hazel, you can build a long-lasting bed that will be the envy of your neighbors.

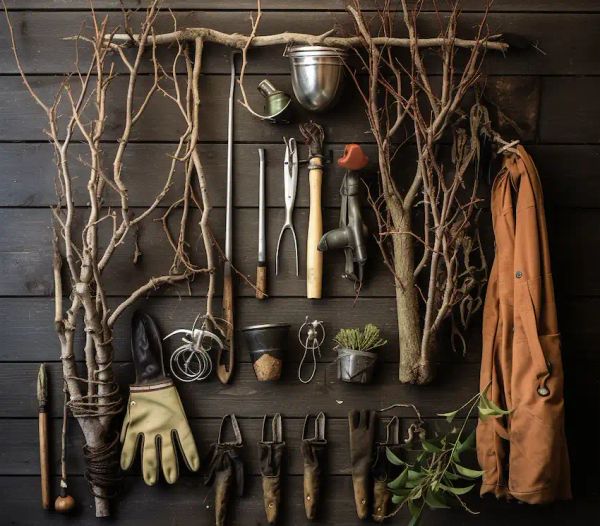
What You’ll Need
- Flexible branches or twigs (willow or hazel are ideal)
- Sturdy stakes (about 2 feet longer than the desired height of the bed)
- Hammer or mallet
- Pruning shears
- Garden gloves
- Measuring tape
- Soil and compost mix
Step-by-Step Guide to Creating Your Wattle Raised Garden Bed
1. Planning and Design
- Start by determining the size and location of your raised bed. Make sure it receives enough sunlight for the plants you plan to grow.
- Sketch a rough design, including dimensions and shape.
2. Preparing the Site
- Clear the area of weeds and debris.
- Level the ground where the bed will be placed.
- Mark the outline of the bed using string or chalk.
3. Gathering Materials
- Collect long, flexible branches or twigs. Willow and hazel are preferred for their flexibility and strength.
- Cut the branches into uniform lengths, considering the height and circumference of your bed.
4. Installing Stakes
- Cut the stakes to the desired length (height of the bed plus 2 feet).
- Hammer the stakes into the ground at regular intervals around the perimeter of the marked area, leaving about 2 feet of stake protruding above ground.
5. Weaving the Wattle
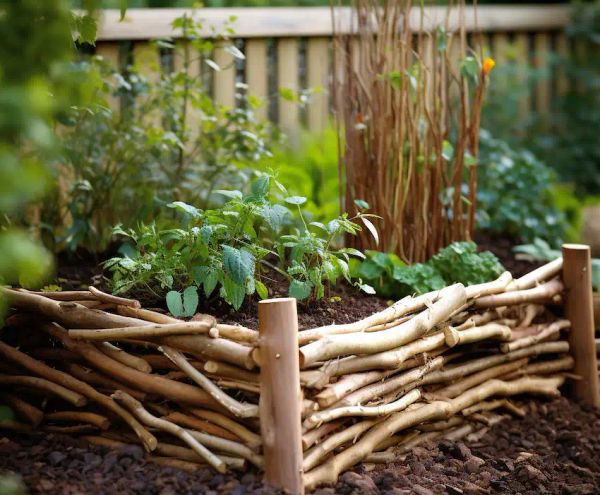
- Start at one corner, weaving the flexible branches horizontally between the stakes. Alternate the side each branch starts on to create a sturdy interlocking structure.
- Gently bend the branches as needed and weave them tightly.
- Trim excess lengths with pruning shears.
6. Building Up the Walls
- Continue adding layers of woven branches until the desired height is reached.
- Ensure each layer is tightly interwoven for stability.
7. Securing the Top
- Tuck the ends of the final layer of branches into the weave to secure them.
- Optionally, add a more rigid border on top for a neater finish.
8. Filling with Soil
- Mix garden soil with compost to provide a nutrient-rich environment for plants.
- Fill the wattle raised bed with the soil-compost mixture.
9. Planting
- Choose plants suitable for the size of the bed and the available sunlight.
- Plant your seeds or seedlings according to their specific requirements.
10. Maintenance
- Regularly water your plants, keeping the soil moist but not waterlogged.
- Add mulch to help retain moisture.
- Prune and maintain the wattle as needed to keep it tidy and intact.
Creating your wattle raised garden bed is not only a rewarding DIY project but also an eco-friendly way to enhance your garden. This traditional technique, though time-consuming, results in a functional and attractive addition to your outdoor space.
Tips for Success
- For longer-lasting wattles, use freshly cut, green wood.
- The flexibility of the branches is crucial for easier weaving.
- Regular maintenance of the wattle will prolong its life.
By following these simple steps, you can create a beautiful and sustainable raised garden bed that will bring joy and beauty to your garden for years to come. Happy gardening!

