Growing potatoes in a small space can be tricky. But with a potato tower, you can make the most of your garden and get a great harvest. Potato towers, especially ones made with straw, are perfect for urban gardeners and those with limited space. Here’s a detailed guide on how to build one and the benefits it offers.
Benefits of a Potato Tower
Save Space: Potato towers take up very little ground space, which is perfect for small gardens or balconies.
Easy Harvesting: Getting potatoes out of a tower is much easier than digging them out from the ground.
Less Pest and Disease Risk: Raising the soil level protects the crop from pests and diseases that come from the ground.

Better Drainage and Air Flow: The tower’s structure allows for improved water and air circulation, which is essential for healthy potato growth.
Materials Needed
- Wire fencing or a large mesh cylinder
- Straw (preferably weed-free)
- Compost and soil
- Seed potatoes
- Watering can or hose
- Gardening gloves
Step-by-Step Guide to Building a Potato Tower
Choose a Sunny Spot: Potatoes love sunlight, so pick a location that gets at least 6 hours of direct sunlight every day.
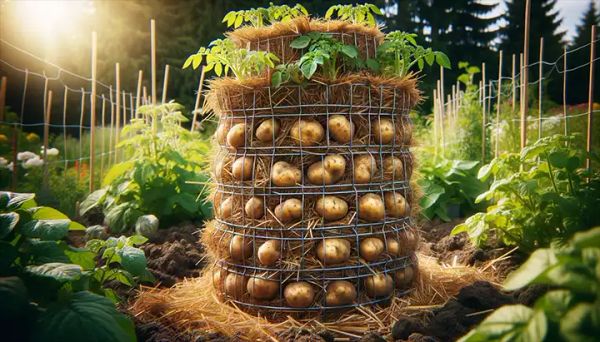
Prepare the Tower Structure:
- Cut a piece of wire fencing and shape it into a cylinder that is 2 to 3 feet in diameter and 3 to 4 feet high.
- Secure the edges to form the tower.
Layer the Base:
- Start with a layer of straw at the bottom of the tower for drainage.
- Add a mix of soil and compost, about 6 inches deep.
Plant Seed Potatoes:
- Place the seed potatoes on the soil layer, with the eyes facing upward.
- Space them about 6 inches apart.
- Cover them with another layer of soil and compost.
Keep Building Up:
- As the potato plants grow, add more layers of straw around the sides of the tower and more soil-compost mix to cover the stems. Leave only the top few inches of the plant exposed.
- This encourages more potatoes to form along the buried stems.
Watering and Care:
- Regularly water the tower to keep the soil moist but not waterlogged.
- Avoid over-watering, as it can cause the potatoes to rot.
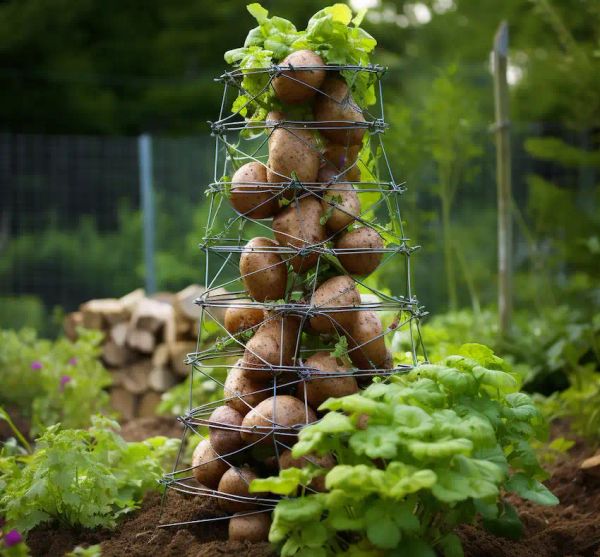
Harvesting:
- Potatoes can be harvested once the foliage starts to turn yellow and die back.
- Gently remove the straw and soil from the sides of the tower to access the potatoes.
Additional Tips
- Choose the Right Potatoes: To reduce the risk of disease, use certified seed potatoes.
- Mobility: If mobility is a concern, place the tower on a platform with wheels.
- Watch for Pests: Regularly check for signs of pests and take action promptly to ensure a healthy crop.
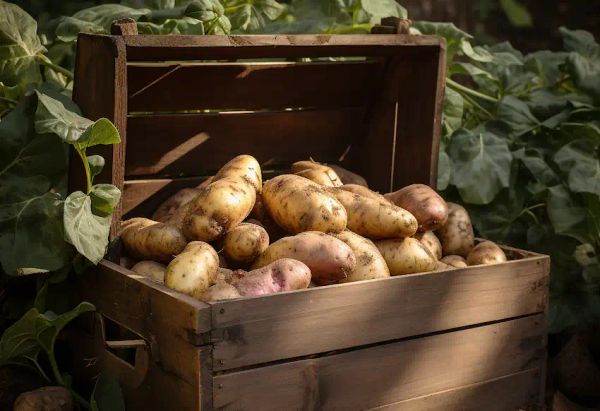
Building a potato tower is a rewarding project for any gardener. It’s a clever way to grow a staple crop in a small space, with the added benefits of easy care and harvesting. By following these steps, you’ll have a bountiful potato harvest that’s both efficient and enjoyable. Happy gardening!