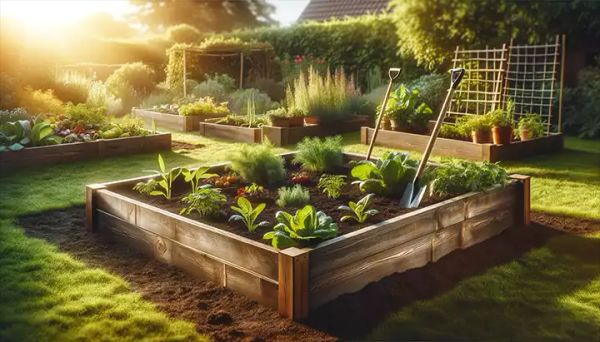
Creating a beautiful garden doesn’t have to be complicated. With a simple raised bed, you can improve your gardening experience and enjoy a bountiful harvest. This step-by-step guide will help you build a raised bed that will enhance your growing conditions and make gardening easier for you.
I. The Advantages of Raised Bed Gardening:
Enhanced Soil Quality: With raised beds, you have control over the soil environment. You can create a nutrient-rich soil mix that is perfect for your plants’ needs.
Optimal Drainage: The raised structure ensures that water doesn’t collect around your plants’ roots. This promotes healthy growth and prevents waterlogging.
Pest Control: Raised beds can help keep pesky critters like slugs and snails away. You can even add additional barriers to protect your plants from burrowing animals.
Accessibility and Ergonomics: Gardening in a raised bed means less bending and stooping, making it easier on your back. It’s a great option for people of all ages and abilities.
II. Designing and Planning Your Raised Bed:
Location: Choose a sunny spot for your raised bed, ideally receiving at least 6-8 hours of sunlight a day. Consider proximity to water sources and how it fits into your garden design.
Size and Shape: Determine the size that works best for your space and needs. A common size is 4 feet by 8 feet, allowing easy access from both sides. However, feel free to adjust the size to fit your space.

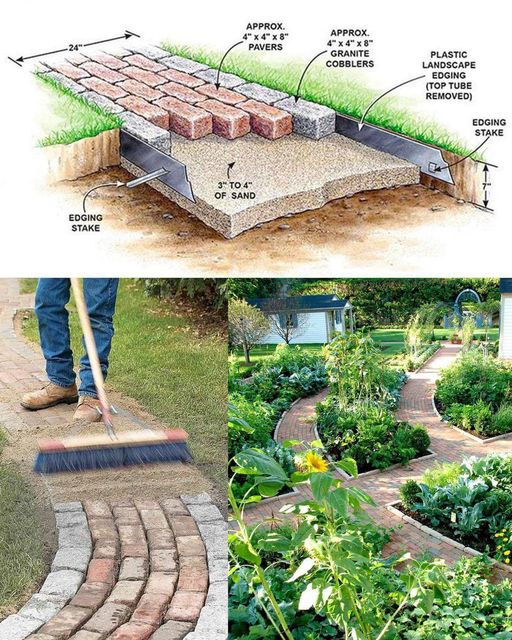
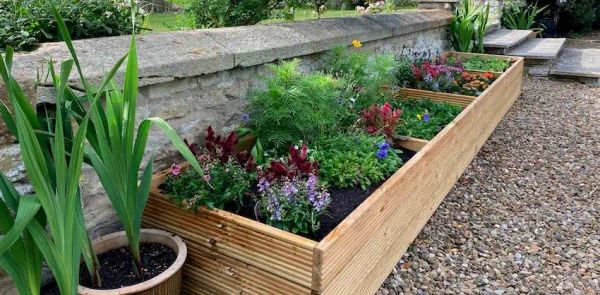
Materials: Select durable and food-safe materials for your raised bed. Untreated cedar, redwood, or even bricks and stones are great choices.
III. Building Your Simple Raised Bed:
Materials Needed:
- Lumber or your chosen material (e.g., untreated cedar)
- Screws or nails (if using wood)
- Drill (if using screws)
- Soil mix (a blend of garden soil, compost, and peat moss or coconut coir)
- Mulch (optional, for weed control and moisture retention)
- Gardening tools (spade, rake)
- Plants or seeds
Step 1: Construct the Frame
- Cut your lumber to the desired lengths. For a 4×8 foot bed, you’ll need four boards (two 8-foot lengths and two 4-foot lengths).
- Assemble the frame by attaching the boards at each corner. If using wood, pre-drill holes to prevent splitting and use screws or nails to secure the corners.
Step 2: Prepare the Site
- Clear away any grass or weeds from the chosen location.
- Place cardboard or landscape fabric on the ground to prevent weed growth.
- Position your frame on the prepared site.
Step 3: Fill with Soil
- Fill the frame with your soil mix, ensuring it’s level and clump-free.
- A mixture of one-third garden soil, one-third compost, and one-third peat moss or coconut coir works well as a growing medium.
Step 4: Plant Your Garden
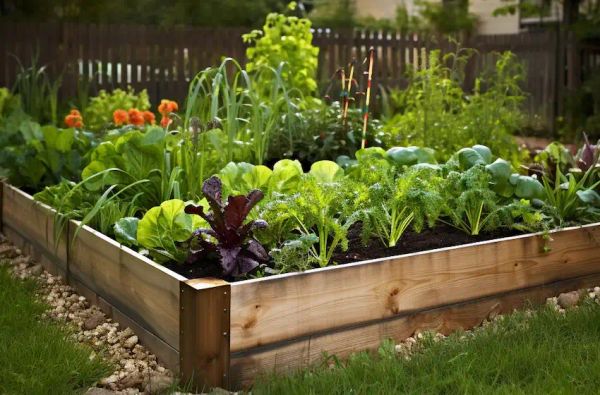
- Plan your plant layout, considering the height, spread, and compatibility of different plants.
- Plant your chosen seeds or seedlings according to their specific depth and spacing requirements.
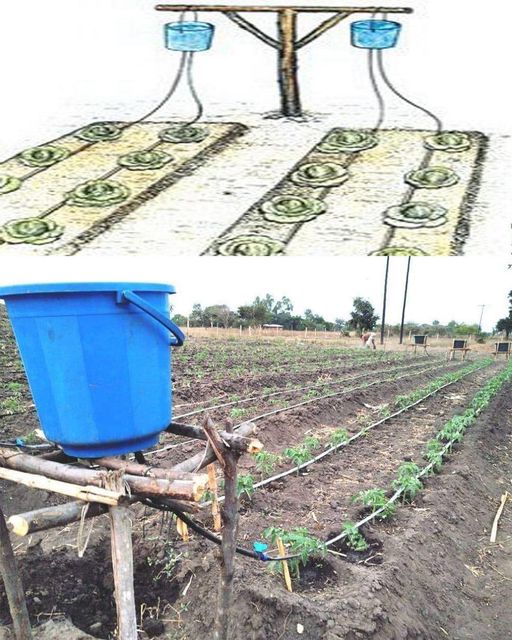
Step 5: Water and Mulch
- Water your new plants thoroughly, making sure the soil is moist but not soggy.
- Apply a layer of mulch to help retain moisture, regulate soil temperature, and reduce weed growth.
Building a simple raised bed is an easy and effective way to transform your gardening experience. You’ll enjoy numerous benefits, from improved soil quality to better pest management and accessibility. With your new raised bed in place, get ready for a season of successful and enjoyable gardening, with the satisfaction of a well-tended garden oasis.