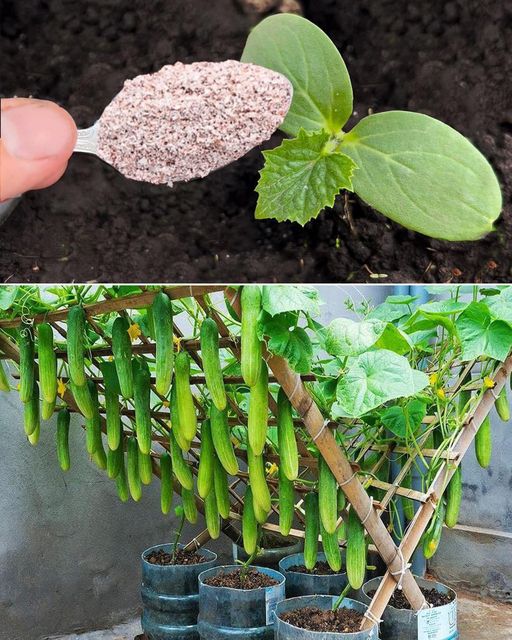
Rosemary is a versatile and aromatic herb that adds a delightful flavor to many dishes. Imagine always having fresh rosemary at your fingertips, conveniently grown right in your kitchen. In this article, we’ll guide you through the simple and rewarding process of growing rosemary from cuttings in water and then transplanting them into pots. Get ready to enjoy the benefits of this fragrant herb in your culinary creations.
What You’ll Need:
To get started, gather the following materials:
- A healthy rosemary plant
- Clean pruning shears or scissors
- A glass or vase
- Distilled or filtered water
- Rooting hormone (optional)
- Small pots with drainage holes
- Well-draining potting mix
- Plastic bags or plastic wrap
- Rubber bands or twine
- Sunlight or grow lights
Step 1: Gather Rosemary Cuttings
Select a healthy and mature rosemary plant for your cuttings. Look for stems that are free from diseases or pests. Make your cut just below a leaf node, and aim for cuttings that are around 4-6 inches long.
Step 2: Prepare Cuttings
Trim the leaves from the lower 2-3 inches of the cuttings, leaving only a few leaves at the top. This step reduces moisture loss during the propagation process.
Step 3: Rooting Hormone (Optional)
While not necessary, using a rooting hormone can improve the success rate of your cuttings. Dip the cut end of each stem into a powdered or gel rooting hormone, shaking off any excess.
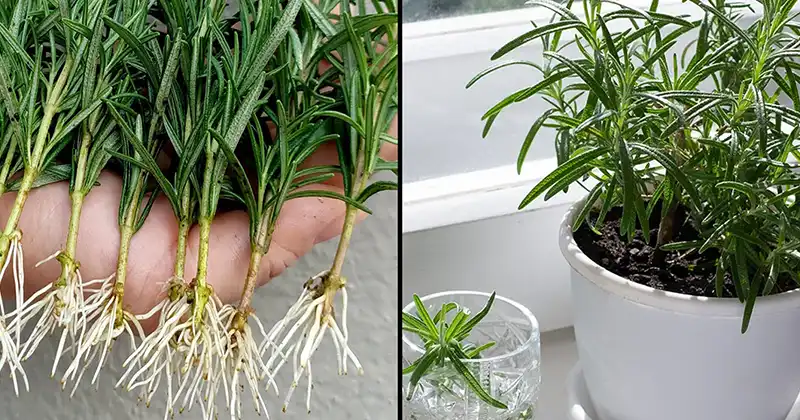
Step 4: Place Cuttings in Water

Fill a glass or vase with about 2-3 inches of distilled or filtered water. Submerge the cut ends of your rosemary cuttings in the water. Remember to change the water every few days to keep it fresh.
Step 5: Maintain Humidity
To create a humid environment for your cuttings, cover the glass or vase with a plastic bag or plastic wrap. Secure it with a rubber band or twine. This step prevents moisture loss and encourages root development.
Step 6: Provide Adequate Light
Place the container with your cuttings in a location that receives indirect sunlight. Alternatively, you can use grow lights if natural light is not sufficient. Avoid exposing the cuttings to harsh, direct sunlight as it can cause excessive drying.
Step 7: Monitor and Wait
Regularly check the water level and ensure that the cuttings remain submerged. You should start to see roots forming in about 2-6 weeks. Once the roots reach a length of 2-3 inches, your cuttings are ready for transplanting.
Step 8: Transplant into Pots

Choose small pots with drainage holes and fill them with a well-draining potting mix. Gently remove the cuttings from the water, being careful not to damage the delicate roots. Plant each cutting in a pot, burying it about 1-2 inches deep.
Step 9: Water and Care
Thoroughly water the newly transplanted rosemary cuttings and place the pots in a sunny location. Water the plants when the top inch of soil feels dry. To prevent diseases, make sure to provide good airflow around the plants.
Step 10: Enjoy Fresh Rosemary
With proper care, your rosemary cuttings will grow into healthy plants. As they mature, you can harvest fresh rosemary whenever you need it for your culinary delights.

Growing rosemary from cuttings in water and transplanting them into pots is a straightforward and rewarding process. With a little patience and care, you can have a constant supply of fresh rosemary right in your kitchen. Not only will this fragrant herb enhance the flavors of your dishes, but it will also bring a touch of greenery to your home. Happy gardening!