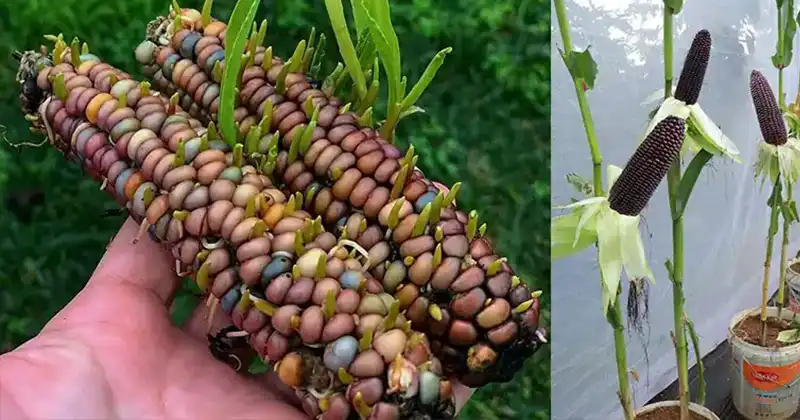
Do you want to grow your own vibrant and unique purple corn, but don’t have a lot of space? No worries! In this step-by-step guide, we’ll show you how to cultivate purple corn using recycled buckets. This eco-friendly method is perfect for those with limited gardening areas, like balconies or small backyards.
Step 1: Getting Started
To begin your purple corn journey, you’ll need to gather a few materials:
- High-quality purple corn seeds for better germination rates.
- Well-draining, organic-rich compost for your seedlings.
- A small container or seedling tray for seed germination.
- Access to a warm and sunny spot or a seedling heat mat for optimal conditions.
Step 2: Seed Germination
It’s time to get those purple corn seeds sprouting! Follow these steps:
- Select Premium Seeds: Start with high-quality purple corn seeds to ensure successful germination.
- Prepare Seedling Compost: Use a small container or seedling tray filled with well-draining, organic-rich compost.
- Plant the Seeds: Space the seeds about two inches apart in the compost, making sure the soil remains moist but not waterlogged.
- Provide Optimal Conditions: Keep the container warm and place it in a sunny spot or use a seedling heat mat to maintain the perfect temperature.
- Exercise Patience: Germination can take up to two weeks, so be patient and wait for those little sprouts to appear.
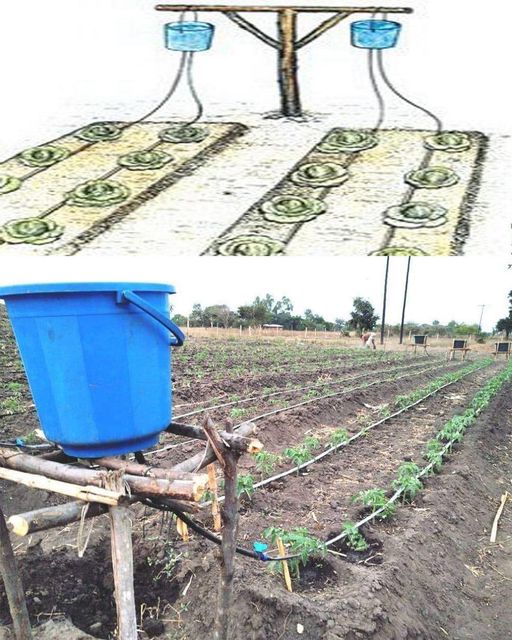
Step 3: Preparing the Buckets
Now that your seedlings are on their way, it’s time to prepare the buckets for their new home:
- Implement Drainage Holes: Create adequate drainage by making holes at the bottom of the buckets.
- Fill with Compost: Add nutrient-rich, loamy soil to the buckets, leaving some space at the top for your plants.
Step 4: Planting the Seedlings
The time has come to transfer your precious purple corn seedlings into their new buckets:
- Transplant with Care: Gently remove the seedlings from the tray, being mindful not to damage the delicate roots.
- Plant at the Appropriate Depth: Place each seedling in a bucket, making sure to accommodate both the roots and the seedling.
- Maintain Proper Spacing: Keep a distance of 9-12 inches between each plant in every bucket.
Step 5: Watering and Nurturing
Your purple corn plants are in their new home, and it’s time to take care of them:
- Appropriate Watering: Keep the soil moderately moist, making sure not to overwater your plants.
- Fertilization: Use a balanced, slow-release fertilizer following the manufacturer’s instructions.
Step 6: Ongoing Maintenance
To ensure your purple corn plants stay healthy and continue to thrive, follow these maintenance tips:
- Pruning: Remove any dead or yellowing leaves to encourage air circulation and plant growth.
- Providing Support: As your corn plants grow taller, use stakes or trellises to provide support and prevent them from toppling over.
- Pest Management: Keep an eye out for pests and take appropriate measures (like organic pest control remedies) to protect your plants.
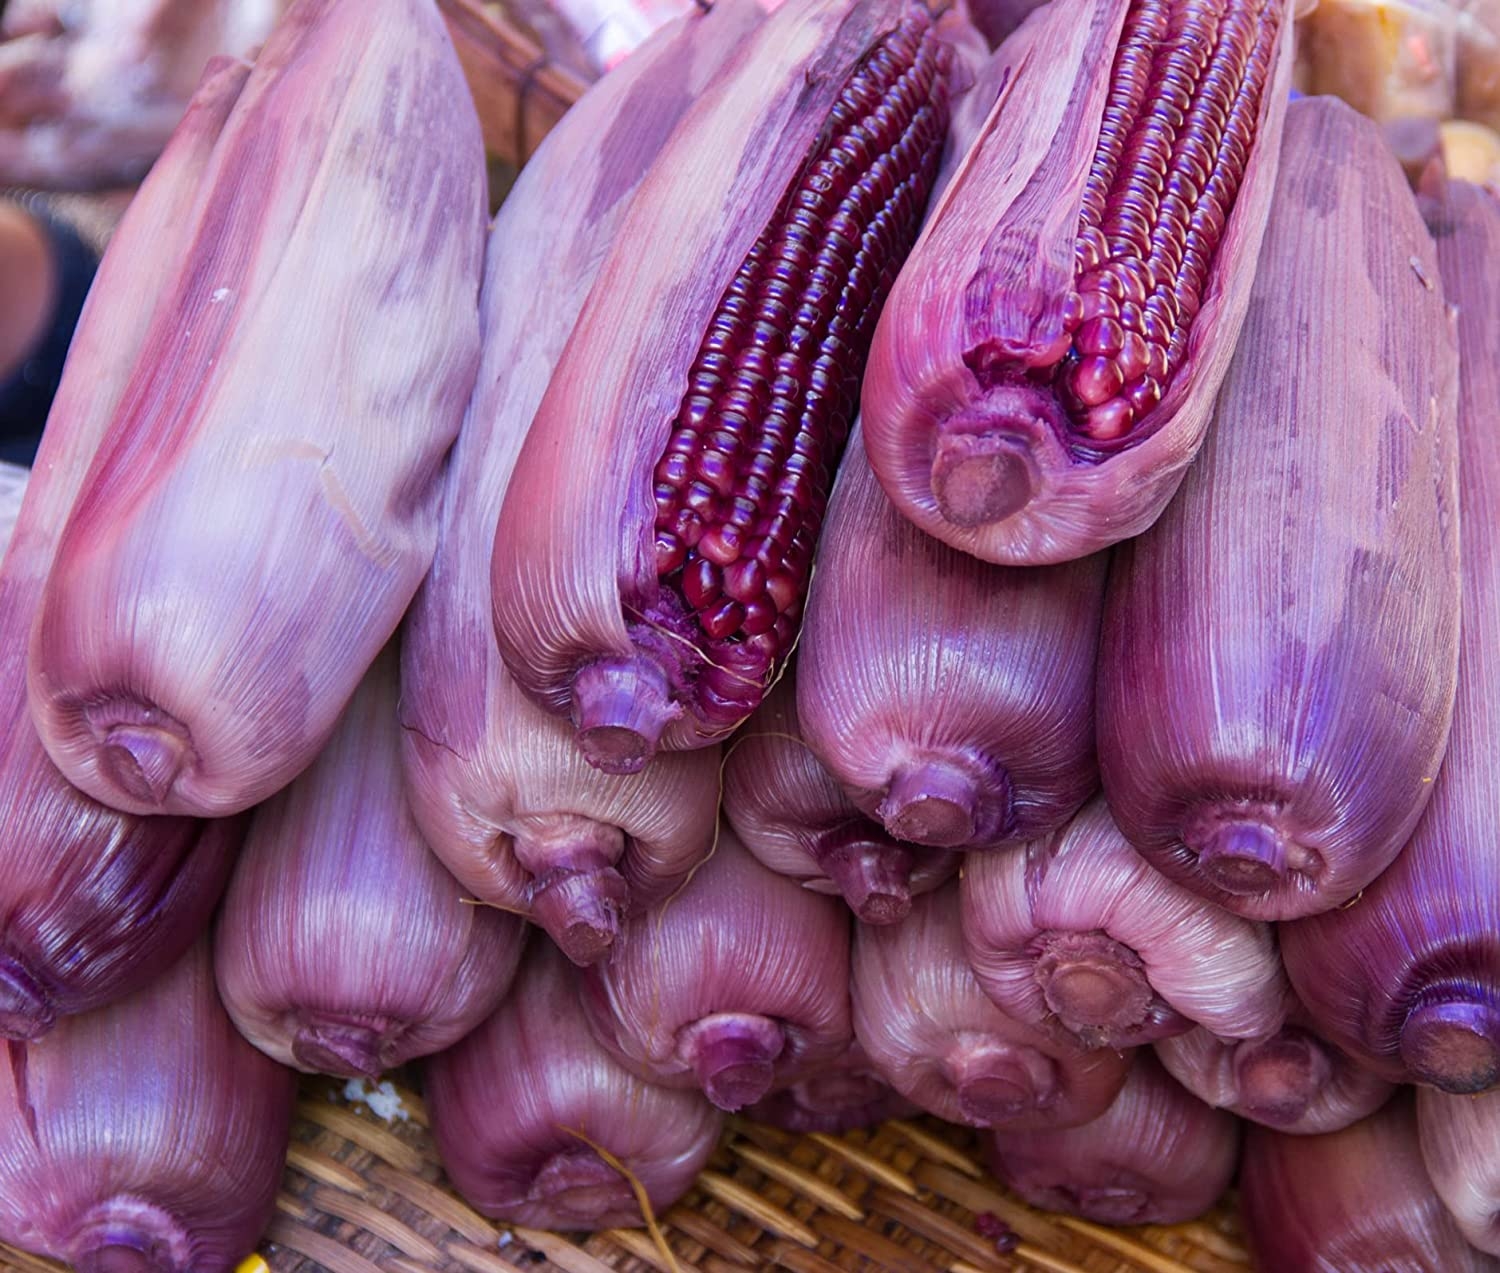
- Harvesting: Your vibrant purple corn will be ready to harvest in about 2-3 months after planting. Pick the ears when the kernels are richly purple for the best flavor.
Conclusion
Growing your own purple corn in recycled buckets is not only an eco-friendly choice but also a rewarding experience. No matter how limited your gardening area may be, you can still enjoy the beauty and flavor of homegrown purple corn on your garden or balcony. Follow these steps, and get ready for a bountiful harvest of striking purple corn!